Deploying TideSQL (TidesDB+MariaDB) on AWS EC2

published on April 2nd, 2026
In this article we will be deploying TideSQL (TidesDB+MariaDB) on AWS EC2 using the shell script installer, creating a production database user, and connecting.
To find the YouTube video for this article, click here.
Prerequisites
- An AWS EC2 instance running Ubuntu 22.04 or 24.04 (LTS recommended)
- Instance type should be a t3.medium or larger (2 vCPU / 4 GB RAM minimum; r6i.xlarge recommended for production)
- EBS gp3 volume, 30-60 GB minimum
- Security group allowing SSH (22) inbound from your IP
- SSH access via key pair
1. Launch and connect to the instance
ssh -i ~/.ssh/your-key.pem ubuntu@<instance-public-ip>
ssh -o IdentitiesOnly=yes -i "<pem file name>.pem" ubuntu@<instance-public-ip>
The -o IdentitiesOnly=yes flag tells SSH to only use the key you specified and ignore any keys loaded in your SSH agent.
2. System update
sudo apt update && sudo apt upgrade -y3. Clone TideSQL and run the installer
git clone https://github.com/tidesdb/tidesql.gitcd tidesqlRun the installer. This handles all dependencies (cmake, compilers, zstd, lz4, snappy, ssl, etc.), builds TidesDB from source, clones and builds MariaDB with the plugin, initializes the data directory, and writes a production my.cnf.
sudo ./install.sh \ --mariadb-prefix /usr/local/mariadb \ --skip-engines mroonga,rocksdb,connect,spider,oqgraph,columnstore,sphinx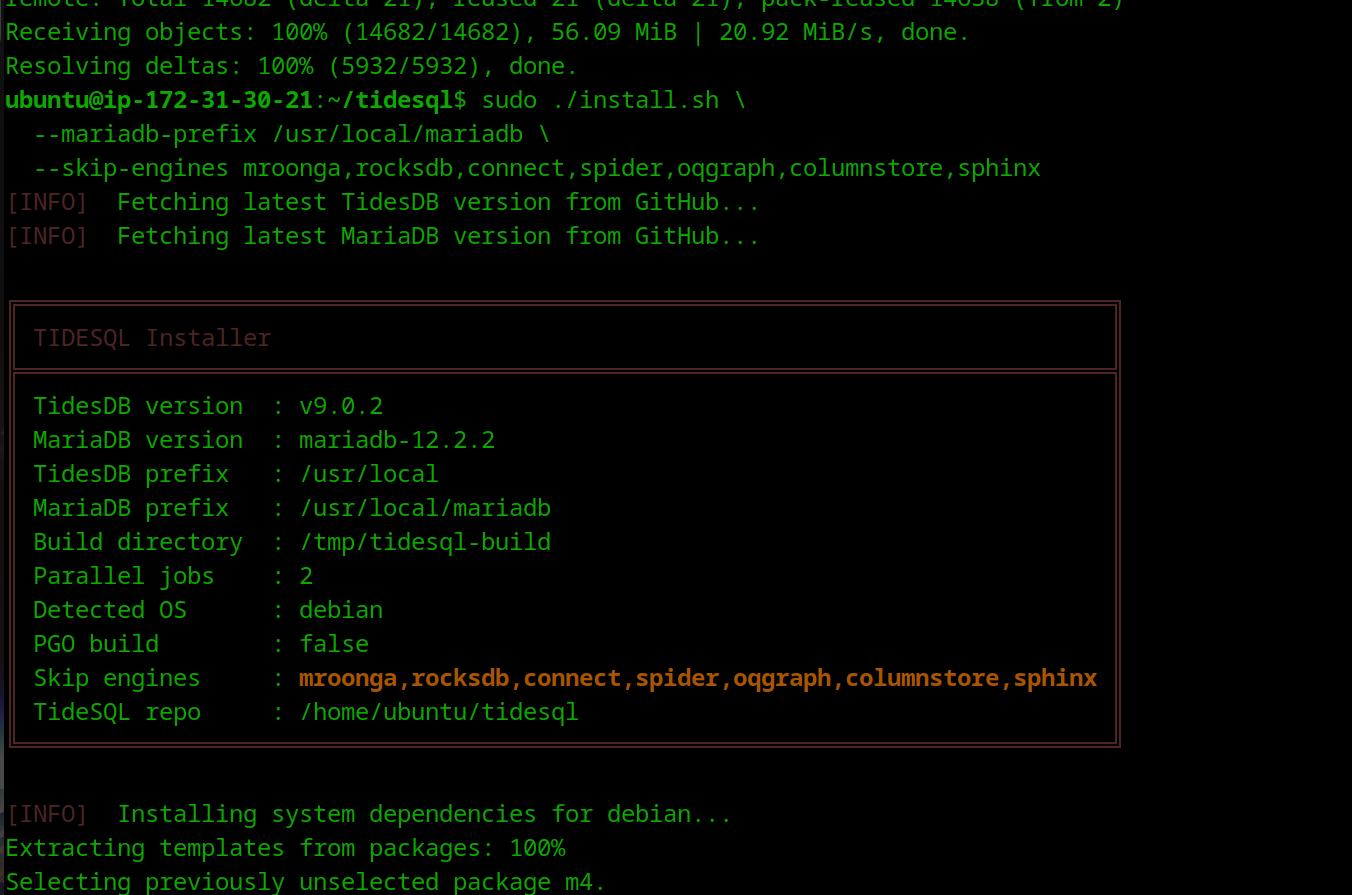
The --skip-engines flag excludes storage engines you don’t need, cutting build time significantly. RocksDB tends to be the biggest time sink.
Useful options
| Option | Description |
|---|---|
--tidesdb-version v8.9.2 | Pin a specific TidesDB release |
--mariadb-version mariadb-11.4.5 | Pin a specific MariaDB version |
--pgo | Profile-guided optimization (longer build, faster binaries) |
--s3 | Build with S3 object store connector |
--jobs 4 | Limit parallel build jobs (useful on small instances) |
The build takes 10-45 minutes depending on instance size. When complete, the installer prints a summary box with paths and connection commands.
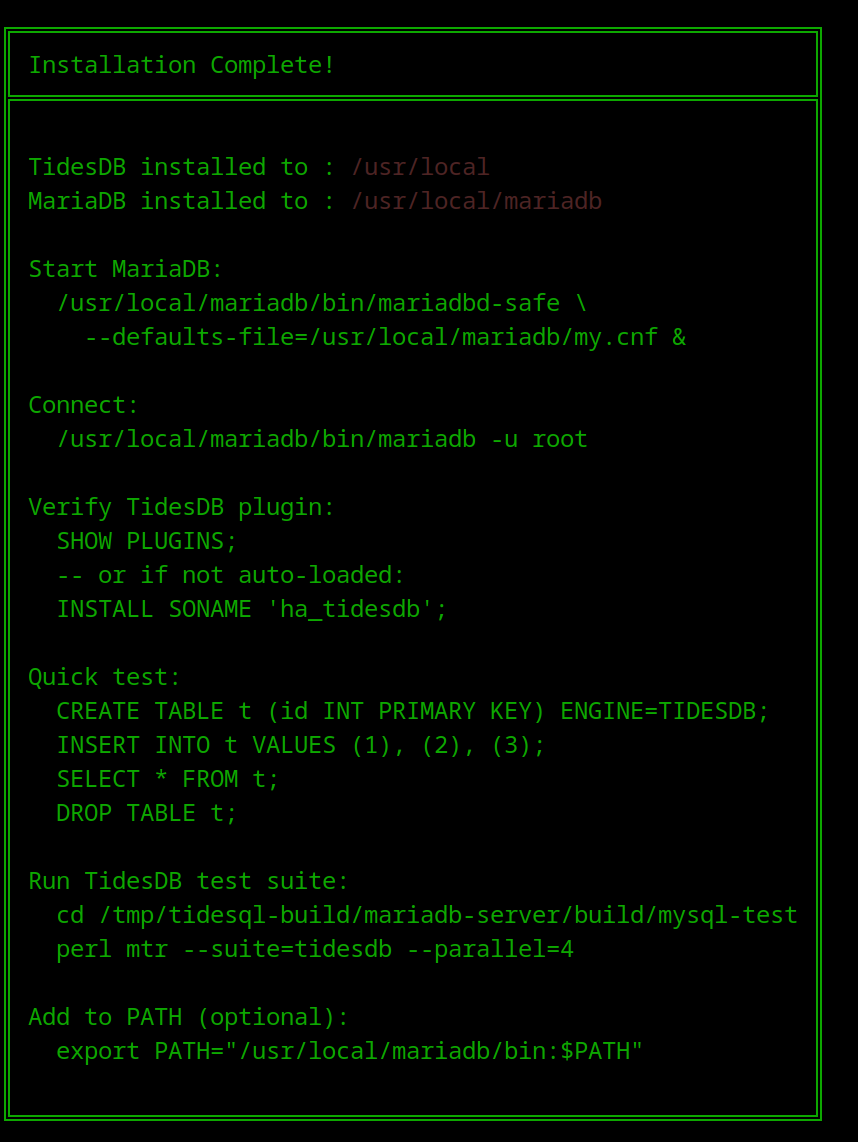
4. Start MariaDB
sudo /usr/local/mariadb/bin/mariadbd-safe \ --defaults-file=/usr/local/mariadb/my.cnf &Verify it’s running:
sudo /usr/local/mariadb/bin/mariadb -u root -S /tmp/mariadb.sock -e "SELECT VERSION();"5. Verify the TidesDB plugin
sudo /usr/local/mariadb/bin/mariadb -u root -S /tmp/mariadb.sockSHOW PLUGINS;You should see:
| TIDESDB | ACTIVE | STORAGE ENGINE | ha_tidesdb.so | GPL |If it shows NOT INSTALLED, load it manually:
INSTALL SONAME 'ha_tidesdb';Quick smoke test:
CREATE TABLE test.t (id INT PRIMARY KEY, v VARCHAR(100)) ENGINE=TIDESDB;INSERT INTO test.t VALUES (1, 'hello'), (2, 'world');SELECT * FROM test.t;DROP TABLE test.t;6. Secure the installation
Remove anonymous users, disable remote root login, and remove the test database:
sudo /usr/local/mariadb/bin/mariadb-secure-installation \ --defaults-file=/usr/local/mariadb/my.cnf \ --socket=/tmp/mariadb.sockWalk through the prompts:
- Enter current password for root · just press Enter (no password set yet)
- Switch to unix_socket authentication · Y (lets
sudo mariadblog in as root via OS identity, no password needed) - Change the root password · n (unix_socket is sufficient)
- Remove anonymous users · Y
- Disallow root login remotely · Y
- Remove test database · Y
- Reload privilege tables · Y
7. Create a production application user
Connect as root:
sudo /usr/local/mariadb/bin/mariadb -u root -p -S /tmp/mariadb.sockCreate the database and user:
CREATE DATABASE app_prod;
-- Create a user with a strong passwordCREATE USER 'app_user'@'%' IDENTIFIED BY 'YourStrongPassword!2026';
-- Grant privileges on the application databaseGRANT SELECT, INSERT, UPDATE, DELETE, CREATE, DROP, ALTER, INDEX  ON app_prod.* TO 'app_user'@'%';
FLUSH PRIVILEGES;
If connecting over TCP from another host, open bind-address in the config (see step 9) and add port 3306 to the EC2 security group, restricted to your VPC CIDR or application IP.
8. Connect as the production user
Via Unix socket (from the same machine):
sudo /usr/local/mariadb/bin/mariadb -u app_user -p -S /tmp/mariadb.sock app_prodVia TCP (from an app server in the VPC):
mariadb -h <ec2-private-ip> -P 3306 -u app_user -p app_prodCreate a TidesDB table and verify:
CREATE TABLE events (  id    BIGINT NOT NULL AUTO_INCREMENT PRIMARY KEY,  ts    DATETIME NOT NULL DEFAULT CURRENT_TIMESTAMP,  kind  VARCHAR(50),  data  TEXT,  INDEX idx_ts (ts)) ENGINE=TIDESDB  COMPRESSION='LZ4'  BLOOM_FILTER=1;
INSERT INTO events (kind, data) VALUES ('deploy', 'initial setup');SELECT * FROM events;
9. Production tuning
Edit /usr/local/mariadb/my.cnf and adjust for your instance size:
[mysqld]# -- Network --bind-address = 127.0.0.1           # change to 0.0.0.0 if app connects over TCPmax_connections = 200
# -- InnoDB (still used for mysql.* system tables) --innodb_buffer_pool_size = 512M
# -- TidesDB tuning --tidesdb_flush_threads = 4tidesdb_compaction_threads = 4tidesdb_block_cache_size = 1G           # Good to size to ~15-50% of available RAMtidesdb_max_open_sstables = 512tidesdb_unified_memtable_write_buffer_size = 256Mtidesdb_unified_memtable_sync_mode = NONEtidesdb_log_level = WARNtidesdb_default_write_buffer_size = 256Mtidesdb_default_sync_mode = NONE        # INTERVAL, FULL, NONE
tidesdb_default_compression = NONE      # NONE, SNAPPY, LZ4, ZSTD, and LZ4_FAST
# -- Slow query log --slow_query_log = ONlong_query_time = 1
Restart after changes:
sudo /usr/local/mariadb/bin/mariadb-admin -u root -p -S /tmp/mariadb.sock shutdownsudo /usr/local/mariadb/bin/mariadbd-safe --defaults-file=/usr/local/mariadb/my.cnf &10. Set up as a systemd service
Create /etc/systemd/system/mariadb-tidesdb.service:
[Unit]Description=MariaDB with TidesDB EngineAfter=network.target
[Service]Type=simpleUser=ubuntuGroup=ubuntuExecStart=/usr/local/mariadb/bin/mariadbd --defaults-file=/usr/local/mariadb/my.cnfExecStop=/usr/local/mariadb/bin/mariadb-admin -u root --socket=/tmp/mariadb.sock shutdownRestart=on-failureLimitNOFILE=65535
[Install]WantedBy=multi-user.target
If your default user is not ubuntu, change the User and Group fields to your default user.
Enable and start:
sudo systemctl daemon-reloadsudo systemctl enable mariadb-tidesdbsudo systemctl start mariadb-tidesdbsudo systemctl status mariadb-tidesdb11. Add MariaDB to PATH
echo 'export PATH="/usr/local/mariadb/bin:$PATH"' >> ~/.bashrcsource ~/.bashrcNow you can simply use:
mariadb -u app_user -p -S /tmp/mariadb.sock app_prodSummary
| What | Where |
|---|---|
| MariaDB binaries | /usr/local/mariadb/bin/ |
| Configuration | /usr/local/mariadb/my.cnf |
| Data directory | /usr/local/mariadb/data/ |
| TidesDB data | /usr/local/mariadb/data/tidesdb_data/ |
| Error log | /usr/local/mariadb/data/mariadb.err |
| Slow query log | /usr/local/mariadb/data/slow.log |
| Socket | /tmp/mariadb.sock |
| Plugin | /usr/local/mariadb/lib/plugin/ha_tidesdb.so |
With that, you have successfully deployed TidesDB and MariaDB on Ubuntu EC2, congratulations!
—
To learn more about how to use TideSQL check out the TideSQL reference.